Continuing our Click and Learn series of blog posts on the topic of Self Service, I’ll be working through an example Self Service Portal and showing how we give that little bit of polish to a functional but relatively plain-looking portal, turning it into something exceptional. And I’m going to attempt to do it without using the phrase “drab to fab”.
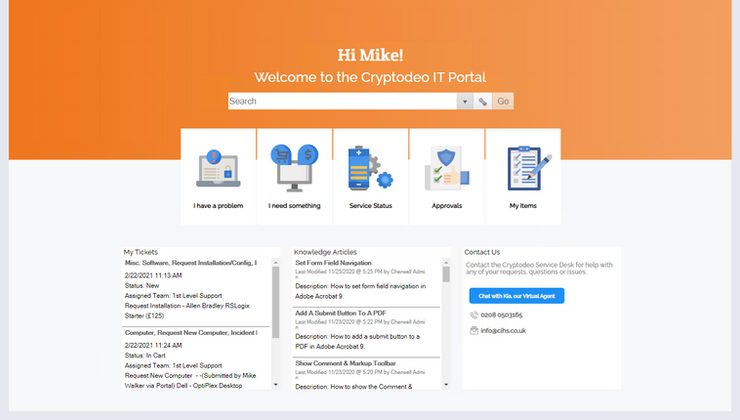
Take a look at the screenshot of the portal below. This was put together in the dashboard editor, using the standard dashboard elements that I’m sure everyone is familiar with. There are plenty of design issues present. But of course, nothing is preventing this portal from being a success in terms of providing the required functionality to your users.
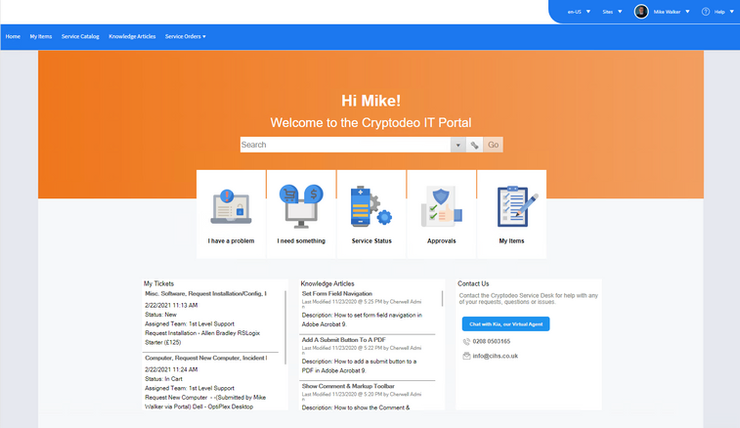
The starting point…
However, acceptance and adoption are frequently impacted by very minor presentation or usability issues. So it’s worth putting in a bit of extra effort to smarten up the presentation, making the portal cleaner & easier to understand and we can even add a few bits of styling and interactivity to provide hints to the user as to how the portal is going to behave.
This post will deal exclusively with the topic of adding custom fonts, but as the series progresses, we’ll be showing how a few tweaks here and there can take your portal from – I’ll stop right there.
Applying Custom Fonts
If you already have corporate standards to follow, then your design decisions have already been made for you. But you need to be aware that font licensing can be quite complex. Some fonts are licensed per server, others are licenced per page view. And, while many fonts are free, some of those will require a visible attribution on the page you’re serving. So, even if you do have a corporate font, it doesn’t automatically mean you can use it on your new Self Service Portal. For that reason, we’ll be playing it safe by using fonts provided by Google under the Open Fonts License.
There are four key steps to making use of custom fonts in Cherwell.
- Install the TTF fonts locally on the devices used by your system designers/administrators – This ensures that the font pickers on the dashboard designer and form editor will allow you to select the new fonts.
- Deploy the web font files to the server which hosts your Self Service Portal – This means that anyone using your portal will get the same experience, regardless of whether or not they have the exact same font installed on their device.
- Add the CSS font references to your portal code – The portal CSS needs to be updated to point web browsers to the fonts you’re hosting.
- Apply the fonts to your dashboards and forms. And, if at all possible, configure them in your custom theme – This is the final step. Once you’ve made the fonts available, you can define where those fonts are used.
Note: If you have your own development environment, then you’ll be able to follow along with these steps. But, if you’re SaaS hosted by Cherwell, you may have a challenge arranging for them to make the necessary changes to your instance. This is because core files will need to be changed and that can cause a support overhead for them. If you’re using the CIHS Cherwell Hosting Service, then just let us know what fonts you’d like us to make available and we’ll take care of the rest.
Step By Step Example
1. Install the fonts locally
I’m going to use two complementary fonts – Crete Round and Raleway Regular. The .TTF files of each can both be downloaded from the links provided.
Once you’ve downloaded the fonts, it’s just a case of installing them as you would do normally.
2. Deploy the web font files to the server
The web server hosting your Cherwell Portal will also need to host equivalent web fonts. There are several different common file formats for web fonts. TTF files are compatible with all major browsers, but alternative formats like WOFF and WOFF2 provide faster loading times. It’s good practice to include a range of formats for each of the fonts you want to use. Browser compatibility information is available here.
For Google fonts, the site Google-Webfonts-Helper makes everything easy for you by providing packages containing all the web font files you’ll need to host and also the snippets of CSS that you’ll need for Step 3.
So, for my chosen font, Crete Round, I can download the files in a zip archive from this page
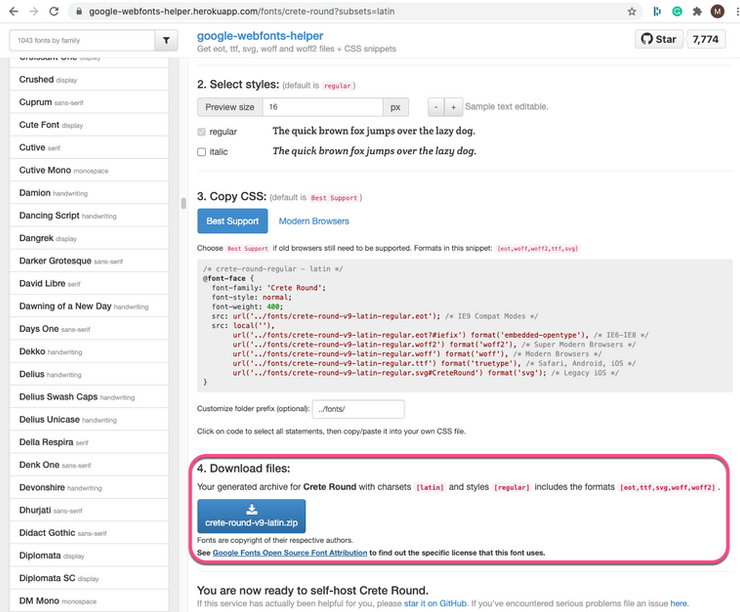
The google-webfonts-helper app provides an archive of all the web font files you’ll need
For the font Raleway, the Google-Webfonts-Helper app allows me to select exactly which font variations I want. I can select different font weights and italic options.
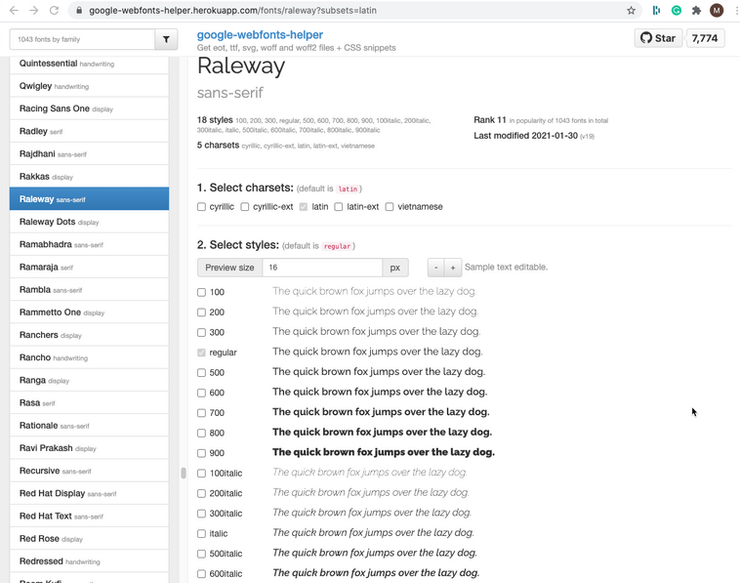
Raleway comes in various font weights. So select the options you want before downloading the pack.
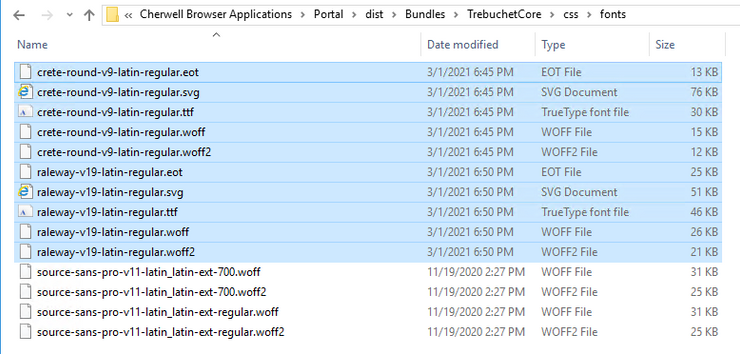
The font packs should be extracted into the directory dist/Bundles/TrebuchetCore/css/fonts/ where your portal is installed. Depending on the Cherwell version you’re running, you’re likely to find some fonts there already.
3. Add the CSS font references
From the Google-Webfonts-Helper site, you should select the “Best Support” option when grabbing the CSS for each of the font packs you’re wanting to make use of.
When copying the CSS snippet, ensure you set the “Customize folder prefix” option as below, otherwise, the CSS reference will not work.
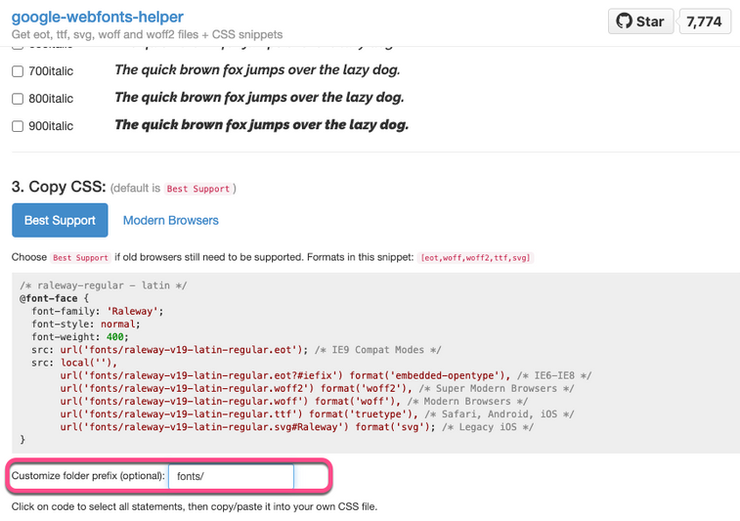
The folder prefix must be set correctly to point to the location of your font files
Copy the CSS snippet and paste it into a new suitably-named CSS file. For my two fonts, I’m using the file names raleway-font.css and crete-font.css. These need to be saved in the location dist/Bundles/TrebuchetCore/css/ as shown below.
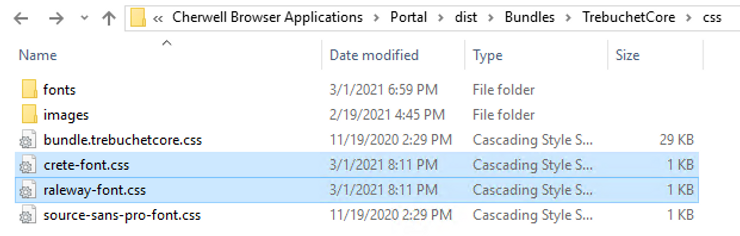
The two new CSS files which contain references to the new fonts.
The final step in this stage is to add references to those new CSS files to the main portal CSS file, which is named bundle.trebuchetcore.css. Working this way means your main portal CSS file remains clean and contains minimal changes. This helps keep upgrades simple, and if you’re asked by Cherwell support to revert any custom code for troubleshooting, you can do this quickly and easily.
Open up the bundle.trebuchetcore.css file in a text editor. You’ll see that it’s been “minified”, which means all the white space has been removed to help reduce bandwidth and improve page loading speed. It can be quite difficult to read and it’s even more difficult to make changes with any confidence.
For this reason, I’d recommend using Visual Studio Code as your text editor. This is a free cross-platform code editor. It includes plugins for expanding and then re-minifying files like these. Moreover, I’ll be making use of this for several other customisations throughout this series.
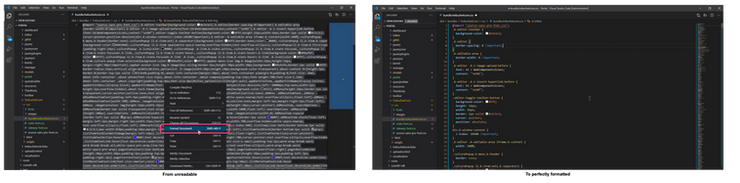
Visual Studio Code provides handy plugins that make life so easy.
Once you’ve re-formatted the CSS file, you can see at the top of the file where the existing Source-Sans-Pro font is included. We simply need to replicate this for our new CSS files. So we’re just going to add two new @import lines to the CSS file as shown below.
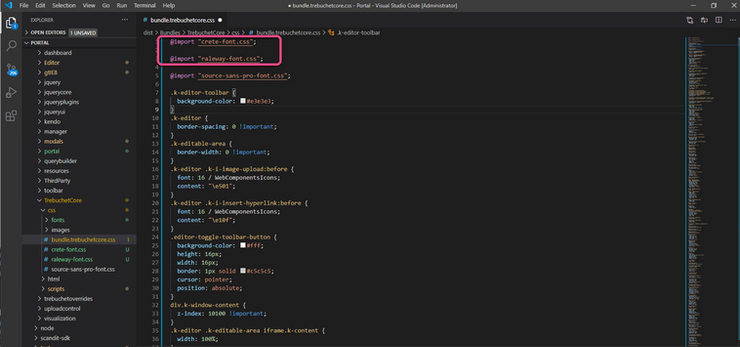
Two new imports have been added for our new fonts.
The CSS file can then be re-minified if you wish. I recommend doing so, but it’s not necessary.
4. Apply the fonts to your dashboards and forms
The fonts will now be available to all users viewing your portal and also to any administrators designing your Self Service Portal. For convenience and consistency, I recommend that you configure your portal theme appropriately to use the relevant fonts. But for the sake of expediency, I’m not going to cover that in this blog post.
If we go back into the design studio and open up our new Self Service Portal landing page, we can see that the new fonts are available to select when creating text elements.
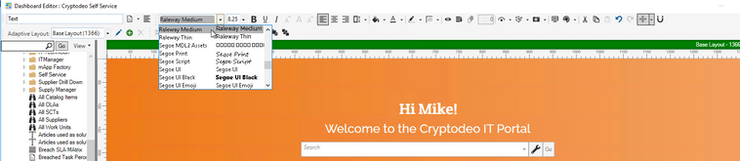
The custom fonts are now visible in the design studio
And just check out the difference that your new font set makes!
As mentioned earlier in the post, there are still plenty of design issues remaining and we’ll cover those in detail in our upcoming blog posts.
We’ll discuss in detail;
- Providing more clarity and structure to the “Search Result” widgets (e.g. My Tickets and Knowledge Articles).
- Adding effective drop-shadows and other CSS effects to provide visual cues to users.
- Adding interactivity to page elements to provide feedback to users.
- Smartening up the Search Bar.
- Menu and login bar tweaks.
- The hidden depths of “Cards with Search”.